We've put our heads together to gather all of our best tips and advice into one handy video guide, so now it's a piece of cake to design and create your own artificial hanging basket!
Hanging baskets are a beautiful way to add curb appeal, but there's the cost of upkeep to consider, including endless watering in the summer months. If you struggle to keep up with super-thirsty flowers and high-maintenance hanging baskets, don’t panic, we’re all in the same boat! ⛵
The good news is that you can make your own faux hanging basket with no watering, pruning, pollen or other hassles to create a beautiful faux garden. Watch our quick video guide below where Rachel will walk you through the steps using a few of our artificial pansy bushes along with a couple of variegated ivy bushes and some small fern bushes in the centre. Read on for our full instructions on how to make an artificial hanging basket.
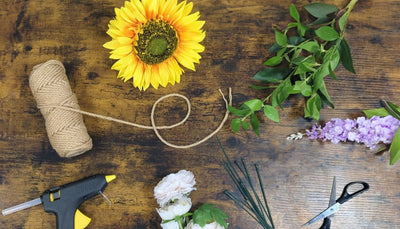
What you’ll need:
Step-by-step: how to make an artificial hanging basket:
-
Choose a suitable basket and weigh it down
-
Secure your oasis foam with wire
-
Poke artificial flowers & foliage into the oasis foam
-
Add finishing touches and final tweaks

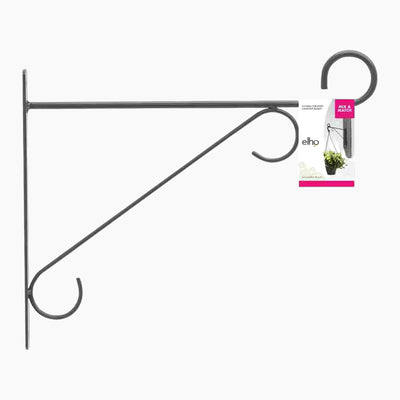
1. Choose a suitable basket and weigh it down
In the video above, we use a 30cm (w) x 15cm (h) wicker basket, but you can use any basket you like. Before you add in your flowers, start by moving the hanging chain aside or removing it altogether, then pop your basket in a bucket or a large jug to keep it stable and leave your hands free.
Next, take a plastic bag, add in some sand or stones and pop this in the bottom of your basket to stop it from blowing around in the wind.

2. Secure your oasis foam with wire
Your flowers will need something to keep them secure in your basket, and you can't go wrong with oasis foam, which you can pick up either online or at a local florist.
The amount you'll need will vary depending on your basket, but to give you an idea, we used around three blocks to fill ours. You can break them up with a Stanley knife if you need to, and push them into your basket so that they’re tightly packed and not rattling around inside.
When we made our basket in the above video, we left the centre block of oasis a little taller than the rest, which gives the middle of your basket a little extra height to prevent it from getting lost among your other foliage, while creating a nice arch shape.
Next, it's best to secure the foam in place using wire. This bit can be a bit fiddly, but all you need to do is poke the wire into one side of your basket, through the foam all the way to the other side, and then hook the wire back through and into your foam. (You might find it a little easier to watch our video for this part!)

3. Poke artificial flowers & foliage into the oasis foam
If you’ve got all your flowers and foliage ready, it’s time to let the flower arranging commence! 🌸
Start by bending out each stem and fluffing out the foliage so that they’re looking nice and full. Then add your stems by poking them into the oasis and go wild, creating your own beautiful arrangement. Just make sure that your flowers are designed for outdoor use, otherwise they could deteriorate quickly.
In the above video, we used 8-10 bushes for our 30cm (⌀) basket, consisting of two of our ivy bushes, some of our pansy bushes and a couple of fern bushes in the middle. You can see the measurements of each bush in the details box on each product page to check how many bushes you'll need for your basket.
When you're adding your outdoor artificial flowers, you’ll probably find it easiest to go around the edges of your basket first and work your way into the middle, filling in any large gaps as you go.
If you don’t have your flowers and foliage yet, we’ve got a wide range of options available to order.

4. Finishing touches
Once the main bulk of your foliage is in, you can make your artificial hanging basket even more realistic by adding extra pieces through the sides of your basket, as if the foliage is really growing out of it.
To do this, snip a few pieces off your trailing foliage, poke the wire through the basket and into the oasis inside.

Make any final tweaks, hang up your DIY hanging basket and enjoy the look of beautiful flowers that won’t wilt in mid-summer or wither in the cold!
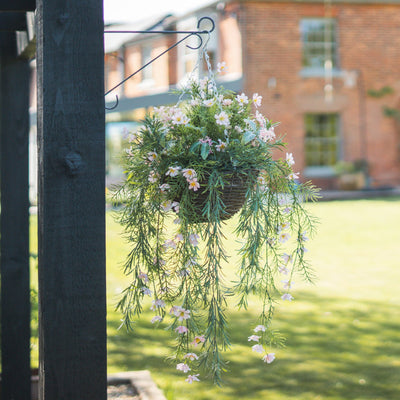
In our example, we used a few of our red pansy bushes with a couple of variegated ivy bushes. But you can experiment with different combos to suit your style. Have a go with some artificial geranium bushes for a bold splash of colour. Alternatively, you can keep things more subtle with delicate lavender bushes.
The beauty of making your own hanging basket is that you can swap out the flowers to match the season. In winter, for example, you could have a foliage-only hanging basket with vanilla grass and small artificial fern bushes alongside ivy. But come springtime, you can swap them out again for some beautiful faux trailing geranium bushes.
Summer hanging basket inspiration

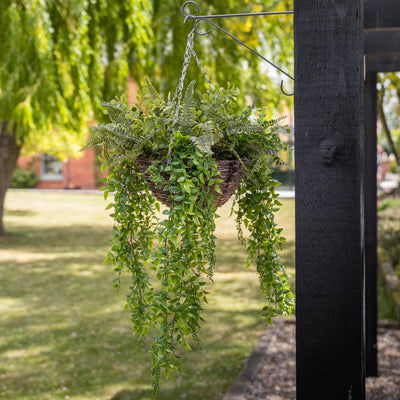
For a beautiful summer hanging basket, we love to go for lots of vibrant flowers and flowing greenery to refresh your garden - the bigger the better!
Opt for large fluffy geranium bushes or trailing geranium bushes to fill out the centre of your basket, and pair them with some trailing foliage like our fern hanging bushes, jasmine hanging bush or our grape leaf hanging bush.
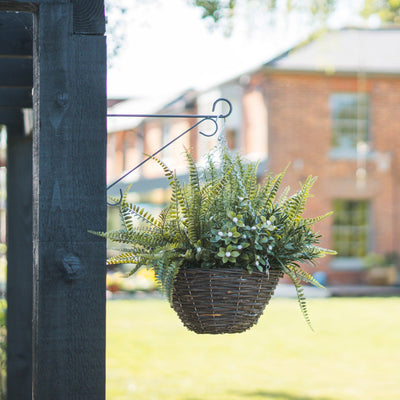
If you prefer to keep your basket on the smaller side, you can try something similar to our wild flower hanging basket and go for a couple of ferns on either side, a lavender bush in the centre and a small flowering bush at the front.
Winter hanging basket inspiration

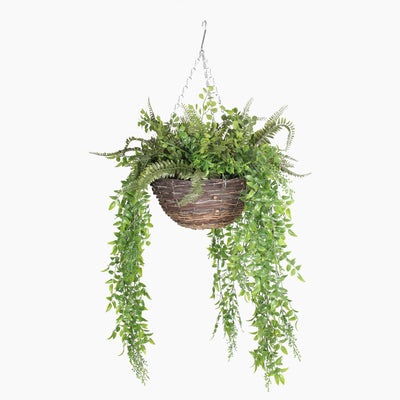
In the winter, you won't pull off the look for long if your baskets are blooming with bold colour, so go for more muted greenery, similar to our forest foliage hanging basket or calla hanging basket.
To get this look, go for a few of our ivy bushes to trail down the sides, a couple small fern plants or vanilla grasses in the centre, and if you'd like a little bit of colour, you can use our pansy viola bush which won't look out of place in the colder months.
Interested in more ideas? Read our full list of winter hanging basket tips with artificial flowers.