Although we love the gorgeous green leaves of our friendly fauxs, lately we’ve been getting the urge to jazz them up and turn them into a work of art. 🎨
Using a splash of colour and a dash of creativity, we’ll be showing you how to paint your artificial plants to take them to the next level!
Painting your artificial plants
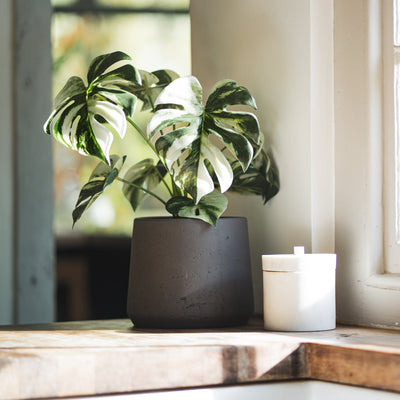
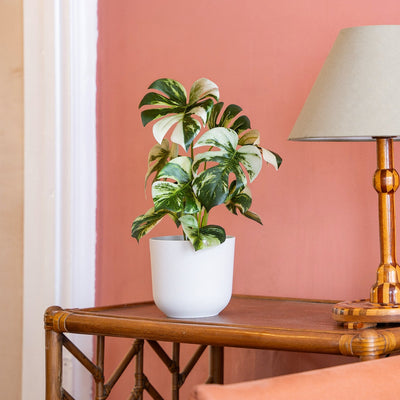
By painting your faux houseplants and turning them into a fun little project, you can create a unique feature to style your space that’s sure to turn heads! There's endless colour combos, patterns and plants to choose from, including our trendy monstera - which we’ve used below.
Painting artificial plants step-by-step:
-
Protect your area
-
Use tape
-
Clean your plant
-
Start painting
-
Try patterns
-
Final touches
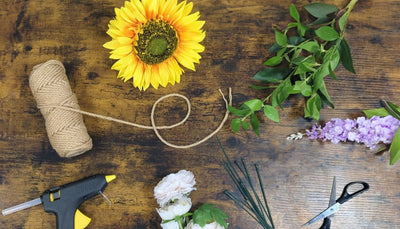
Here’s what you’ll need:
- Protective glasses, mask & gloves
- A protective sheet or newspaper
- Rust-Oleum (or similar) spray paint & Rust-Oleum multi-purpose paint in chosen colours
- Paint brush
- Artificial plant
- Masking tape
1. Protect your area & use PPE

Before we begin, keep yourself safe (and clean!) by using protective gloves, goggles or glasses, and a mask to avoid breathing in any of the spray paint.
Secondly, we recommend spray painting your plants outdoors, but if that’s not possible, make sure you lay down a protective sheet or plenty of newspaper and try to avoid spraying any nearby walls or furniture. It's especially important to wear a mask if you're indoors, and if you can, open your windows to let plenty of fresh air in.
2. Use tape where necessary

Maybe you want to paint the entirety of your plant, in which case you can go straight ahead and skip this bit!
On the other hand, you can use some masking tape to tape off areas of your plant, like the pot for example, that you don’t want to paint.
We simply wrapped some masking tape around the pot and over the top to avoid painting the faux soil.
3. Clean your plant

We promise this is the last bit of prep before you can get the spray paint out!
To ensure the best finish, it’s vital that you give your plant a little clean before painting, otherwise any dust or debris will get trapped, giving your plant a rough and uneven texture.
Your cleaning method may vary depending on the material of your faux, but we’ve got an easy guide to show you how best to clean your artificial plants.
4. Start painting your artificial plant

Finally, now that all the boring bits are out of the way, you can let your creative juices flow and take hold of your spray paint!
Holding your can about 30cm away from your plant, spray back and forth in even motions for the best finish. You may need to add a second or third coat for an even finish, but make sure you let your plant dry for a couple of hours in between each coat.
5. Leave as is or paint patterns

Once your plant is all painted and glammed up, you may decide that you like it as one colour and simply move on to the next step.
Alternatively, you might choose to go the extra mile and add your own stamp on it with a paintbrush. Try your hand at painting your plant with polka dots, stripes, abstract shapes, and swirls either freehand if you’re feeling brave or with some masking tape for clean lines.
6. Last touches

When you’ve finished customising your creation, leave your plant to dry with plenty of ventilation, carefully remove any tape and find a suitable pot to match its new look. At last, you can pop it into a spot in your home and admire your masterpiece! 🖌️