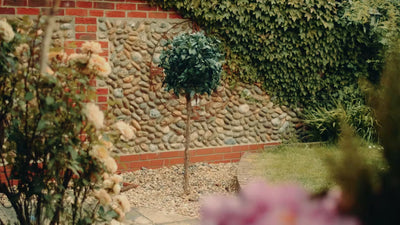
Create your very own green zen space, hanging plant utopia or exotic bathroom spa with our lifelike artificial plants. Have fun creating instant updates and placing greenery wherever you want it without any of the hassles of caring for real plants.

We do our best to protect our faux plants when they’re winging their way to you, but damages can happen. When they do, the most common issue is a damaged starter pot.
From an environmental point of view, rather than replacing your damaged plant, we’d much rather repair it so that it's as good as new. If your plant arrives damaged, we just need a photo which we'll review and get back to you with suitable compensation along with some advice on how to repair it. If you feel like your plant has arrived damaged beyond repair, please get in touch.
You may have bought a discounted plant from our damages outlet, most of which tend to have slightly damaged pots. Either way, watch our video below to show you three ways to fix a damaged starter pot or read on to see our full instructions.

This option is best when your pot is only slightly damaged and has small cracks or holes in it.
We always recommend re-potting your plants when they arrive as it helps them to blend into your décor and keep them stable, so this option is no different than normal and there’s no need to panic as small cracks and breakages won’t affect the overall look of your plant.

First, take a larger more decorative pot (5-10cm larger usually works best) and add in some sand or stones in the bottom for weight and extra height if you need to.

Then put your plant, including its damaged pot, into your new pot and fill in the gaps with some sand or stones.

Lastly, check your plant is standing straight and top it off with some decorative stones.

Using expanding foam to fix your artificial plant is ideal when the starter pot has suffered more substantial damage. This should be done outside while wearing a pair of protective gloves, just in case you make any mess.

When choosing your new pot, pick something that's 5-10cm larger than your plants starter pot to keep your faux steady on its feet and looking more realistic. Remember that you won't be able to change the pot once you've finished.


If your plant's starter pot is badly damaged or missing entirely, cement or Postcrete is the best way to fix it, just make sure to do this outside to avoid any mess.


We’re more than happy to help with repairing your damaged plants, just get in touch and one of our team will get back to you as soon as possible.