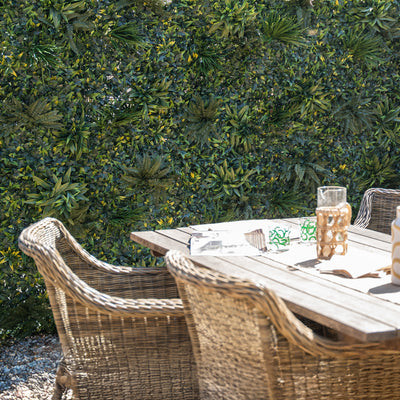
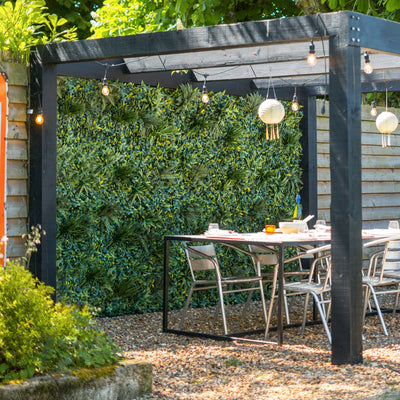
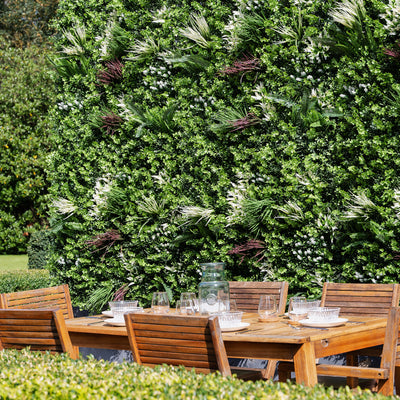
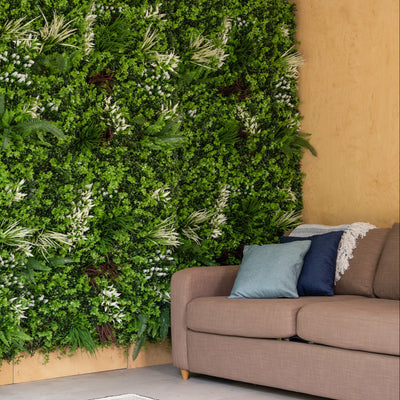
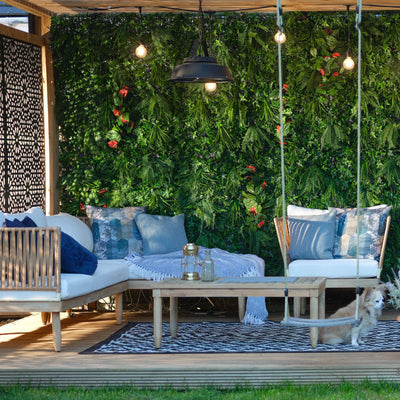
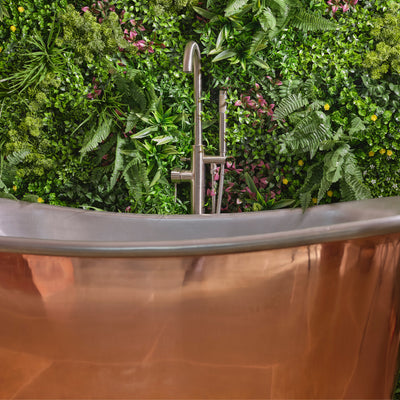
From trendy indoor wall features to leafy outdoor seating areas, living walls have boomed in popularity in recent years to transform cold concrete and dreary fences into a botanical paradise in the comfort of your home.
With the real thing, you've got to install special drainage and keep up with regular pruning and watering, whereas by making a faux living wall, you can create the same look with no maintenance, no mess, and year-round style.
All you need to know is how to mount our living wall panels to your fence or wall. We've got a video below to show you, or read on for full step-by-step instructions.
Shop our Wonderland Living Wall as seen in the video below.
What you'll need:

Making an artificial living wall step-by-step:
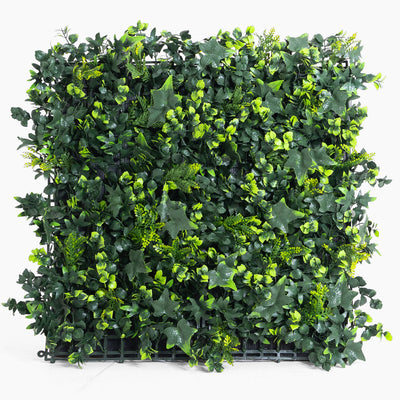
- Choose your green wall mats
- Measure up
- Trellis or no trellis?
- Connect the mats
- Attach to your wall or fence
- Fill in gaps
- Arrange the foliage
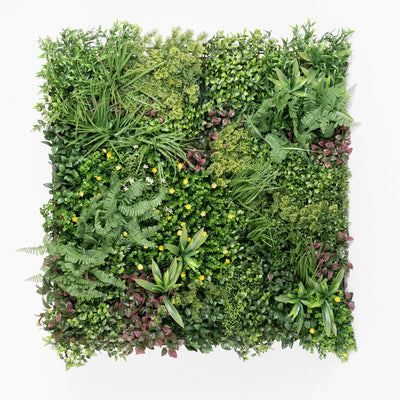
Choosing your living wall mat
With so many options, it can be a little daunting to pick the right mat for you.
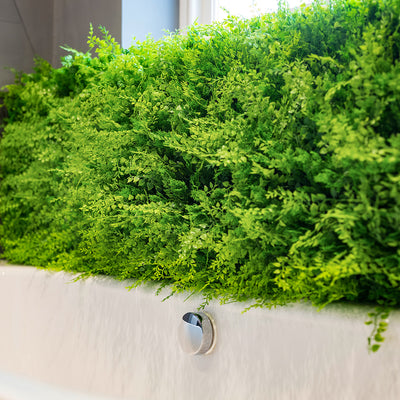
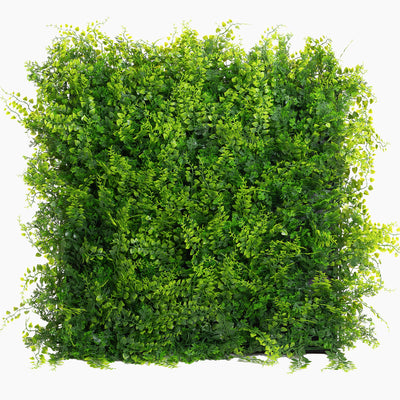
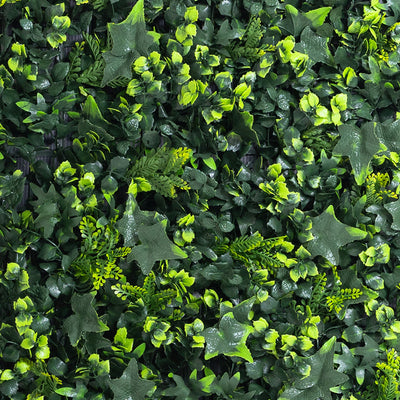
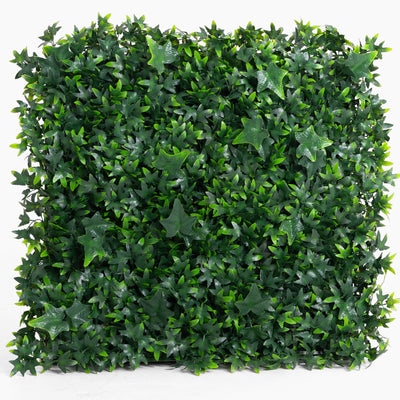
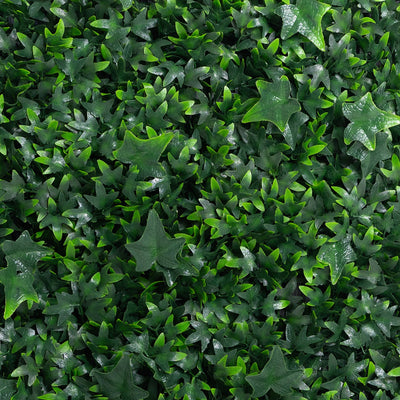
We have basic boxwood, cedar, and buxus mats generally used for faux hedging; smaller 50cm mats like our fern living wall; and larger 100cm mats like our forest foliage living wall and galaxy living wall. Flame-resistant mats are also available for commercial spaces.
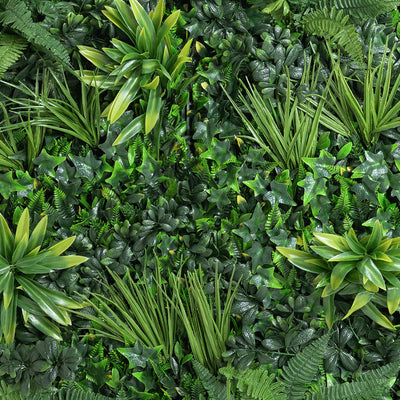
For a traditional English garden look, try our ivy foliage mat. For something modern, try our tropical or woodland living walls.
Browse our full range of faux living wall mats or get inspiration from our garden ideas.

Ordering the right number of mats
To avoid running out mid-project, use the calculator on each product page. Enter your wall measurements to see how many mats you need. Mats can also be trimmed to fit with scissors.

You can always cut your mats down to size with scissors if you need to.

Use a trellis or mount straight to your surface
Consider mounting a wooden trellis to your wall or fence. It makes fixing mats easier, especially on brick or stone surfaces. Use staples or cable ties instead of drilling straight into your wall. For outdoor use, treat your trellis with preservative.

Connect your mats together
Use the a/b connectors on the back of mats to clip them together, creating a seamless run. Clip two or three mats at a time before mounting for ease.
Start adding your wall mats
Having an extra pair of hands helps. Attach mats using one of the following methods:
 Option 1: Staple gun
Hold mats against your surface, pull back foliage, and staple the plastic mesh to your trellis or fence. Use multiple staples along each edge.
 Option 2: Cable ties
Loop cable ties through the grid on the back of the mat and trellis to secure. Use several ties along each edge.
 Option 3: Drill
Drill screws through the mat's plastic grid directly into your surface, a few along each edge. Trim mats if needed.
 Fill in any gaps
When all your mats are attached to your surface, you can go back in with any offcuts and simply poke them through to fill in any empty gaps. Staple, cable tie or drill these in to keep them secure.

Fluff out the foliage
Finally, fluff the foliage with your hands to avoid clumps and achieve a fuller, natural look.

Need some advice?
If you need help, get in touch and we'll guide you through creating your living wall.