Our plants are surprisingly versatile with many ways to liven up your interior and breathe life into your space. (Check out our guide to painting faux plants, if you haven’t already 🎨)
We'll be running through how to frame your artificial plants but as they say, art is subjective so feel free to get creative and make our ideas your own!
Making wall art with artificial plants
Adding artificial flowers and foliage to picture frames can create the look of ‘growing’ wall art! You can use pretty much any flowers or foliage that you like, from single foliage stems for a simplistic look to an assortment of flowers that’ll provide joyful colour year after year. 🌿
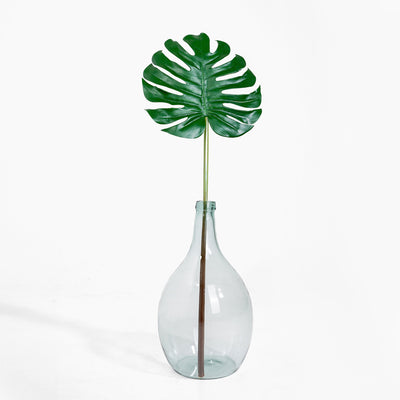
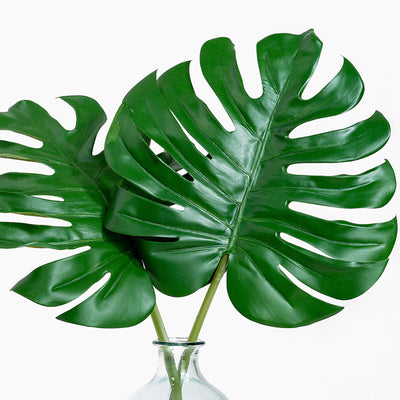
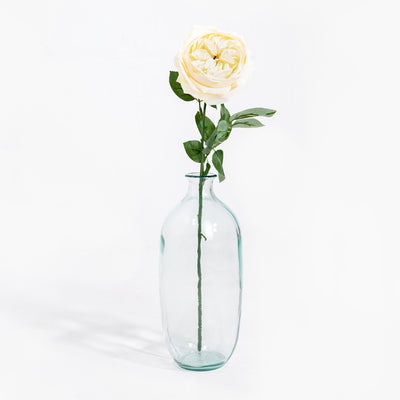
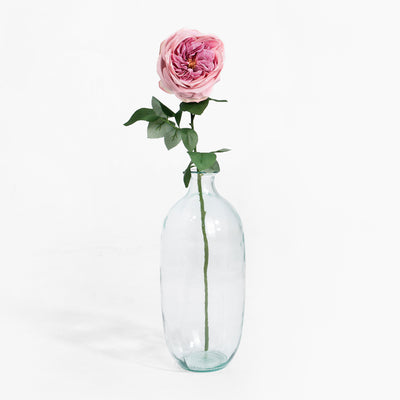
Below we’ll show you a minimalist example with our stylish cheese plant leaf and another option with several of our faux flower stems.
Making plant wall art step by step:
- Choose a frame
- Measure and trim stems
- Add stems to your frame
- Display your art
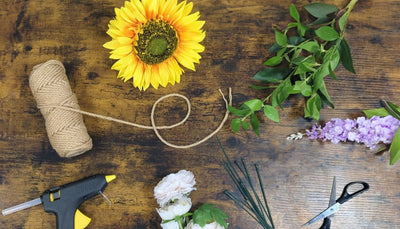
Here’s a list of things you’ll need:
- Box picture frame large enough for your stems
- Flowers and/or foliage stems
- Glue to hold smaller pieces in place
- Pliers or wire cutters
Step 1: Choose a frame

We’ve used a simple black box frame measuring 50x50 cm. You’ll need a box frame rather than a standard photo frame to allow for the depth of the stems.
Step 2: Measure & trim your stems

Our flower and foliage stems are rather long and will need to be trimmed down before adding them to your frame.
Position them as you like in your frame and make note of how much you’ll need to take off the ends. Each stem has an internal wire, so you’ll need a firm grip to cut them down to size with your pliers. 💪

Watch our video guide to trimming artificial flower stems for help.
Step 3: Add the stems to your frame

Position your stem(s) in your frame as you like and put your frame back together. With our cheese plant leaf, we just popped it in the centre of the frame as a standalone piece for a simplistic look.
We also tried another style with several of our viburnum, cornflower, and pincushion stems, tucking the stems behind the mount to hide them from view.

You may need to use a small amount of glue to hold your stem(s) in place, especially for smaller flowers and individual stems.
Step 4: Display your art!
Once you’ve finished adding your foliage, put your frame back together and add it to your space!